Wallpaper tools & supplies SydneyTools for the finish.
The essentials
Made for the job.
Shop available products and preview tools being added soon. Call Bruce on 0413 547 040 to check stock or reserve an item.
1$25
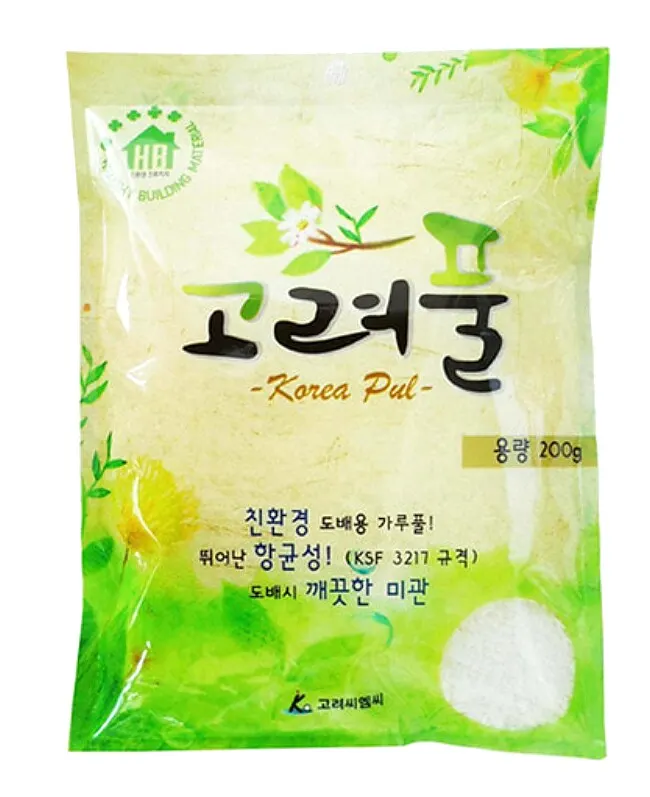
Powder adhesive · Mix with water
Wallpaper Paste (Glue)
Sold as a dry powder, not ready-mixed glue. Mix with water to make a smooth, strong adhesive. This eco-friendly, anti-bacterial paste is formulated
for a secure, long-lasting bond on paper, non-woven and vinyl wallpapers — the dependable
foundation of every successful wallpaper project.
$25AUD
Quantity
2$20
Smoothing
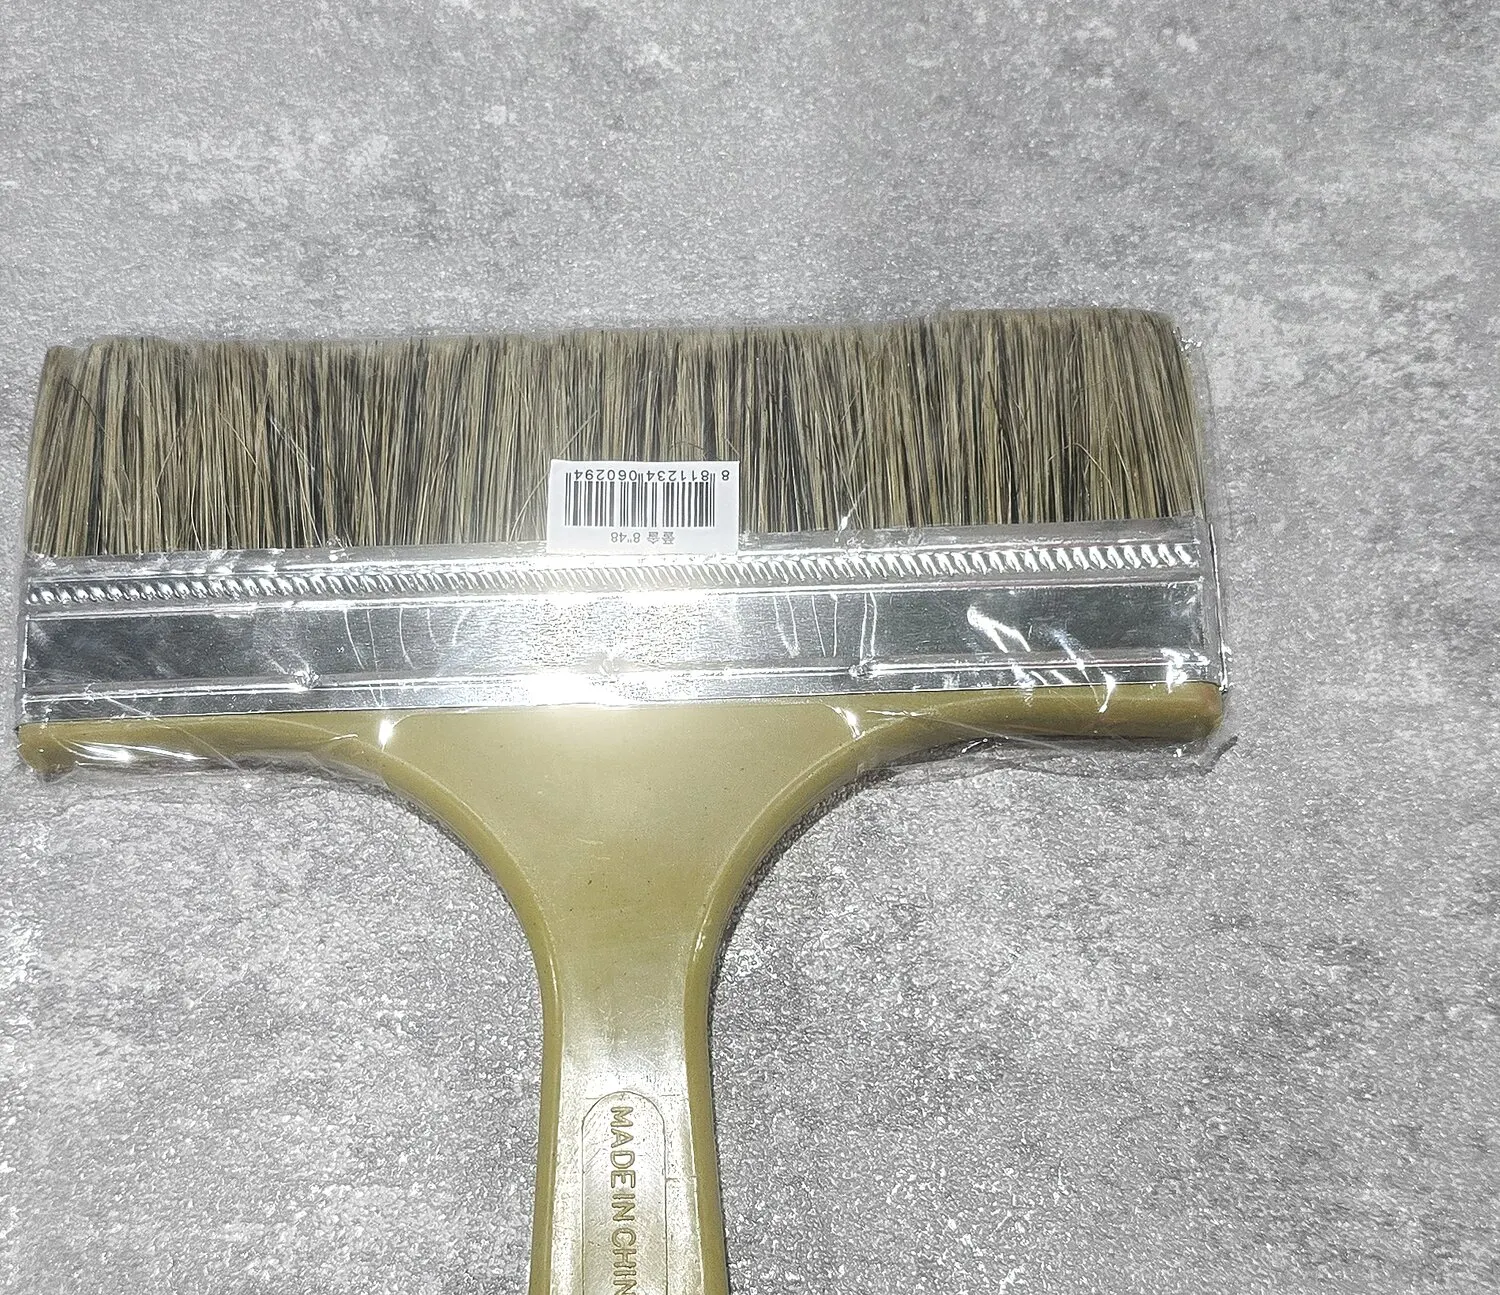
Wallpapering Brush
A wide, soft-bristled smoothing brush that presses wallpaper from the centre outwards, helping
remove trapped air without marking the surface.
$20AUD
Quantity
Trim & tuck
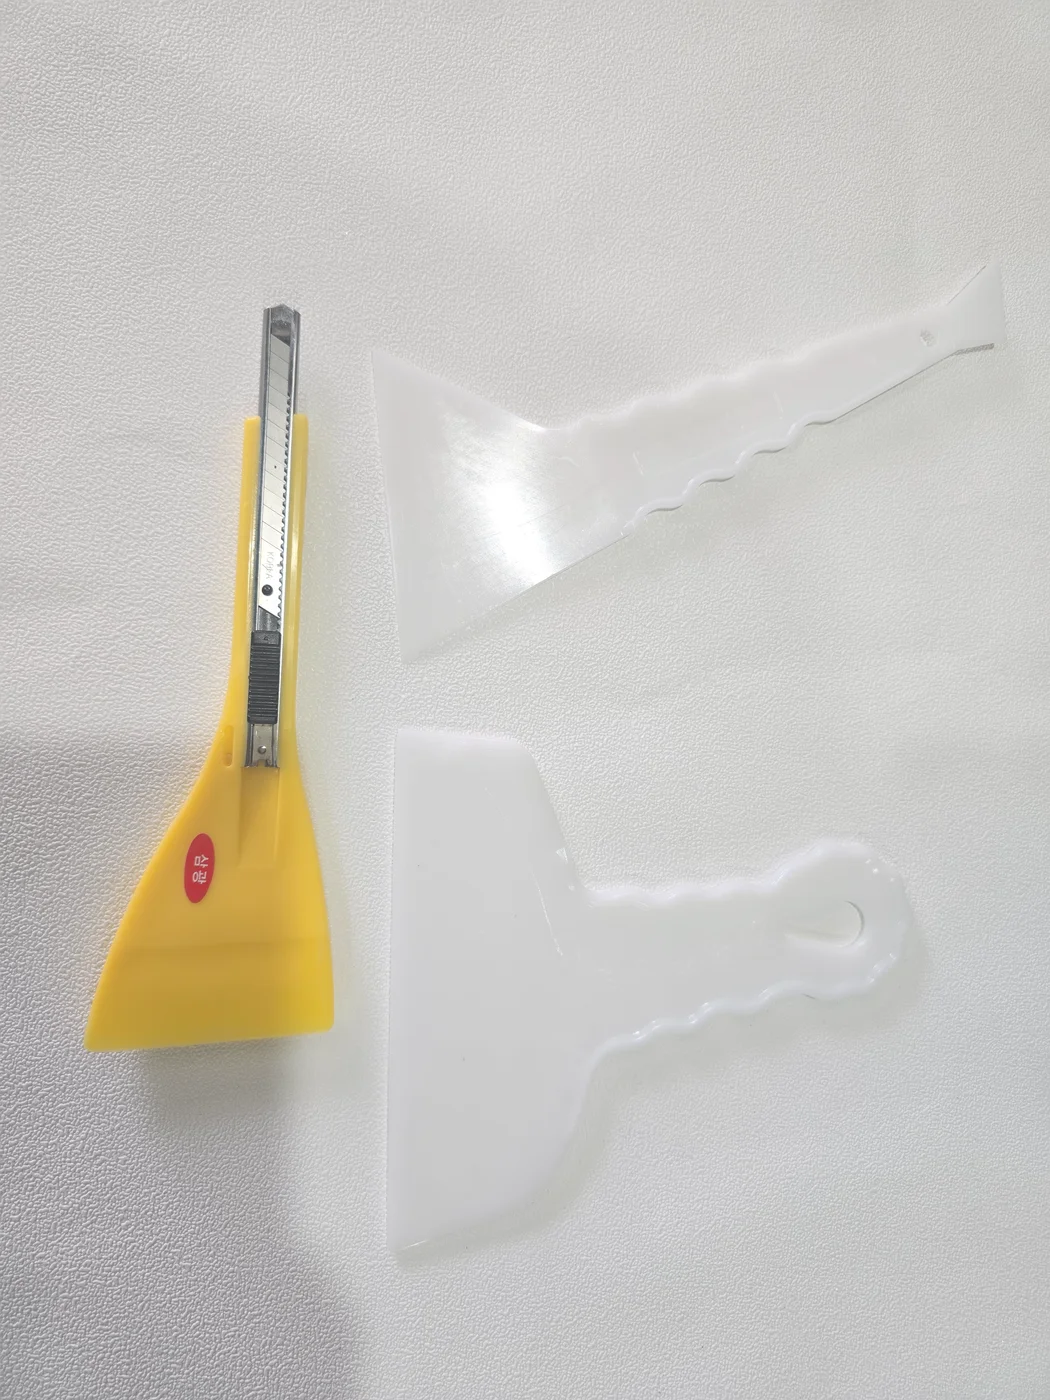
Wallpaper Cutter & Cutting Guide Set
Use the cutter to trim wallpaper neatly at wall edges and corners. The separate cutting guide provides a straight trimming edge and helps seat wallpaper snugly into corners. Cutter and cutting guide are sold together.
$15AUD
Quantity
Even adhesive coverage
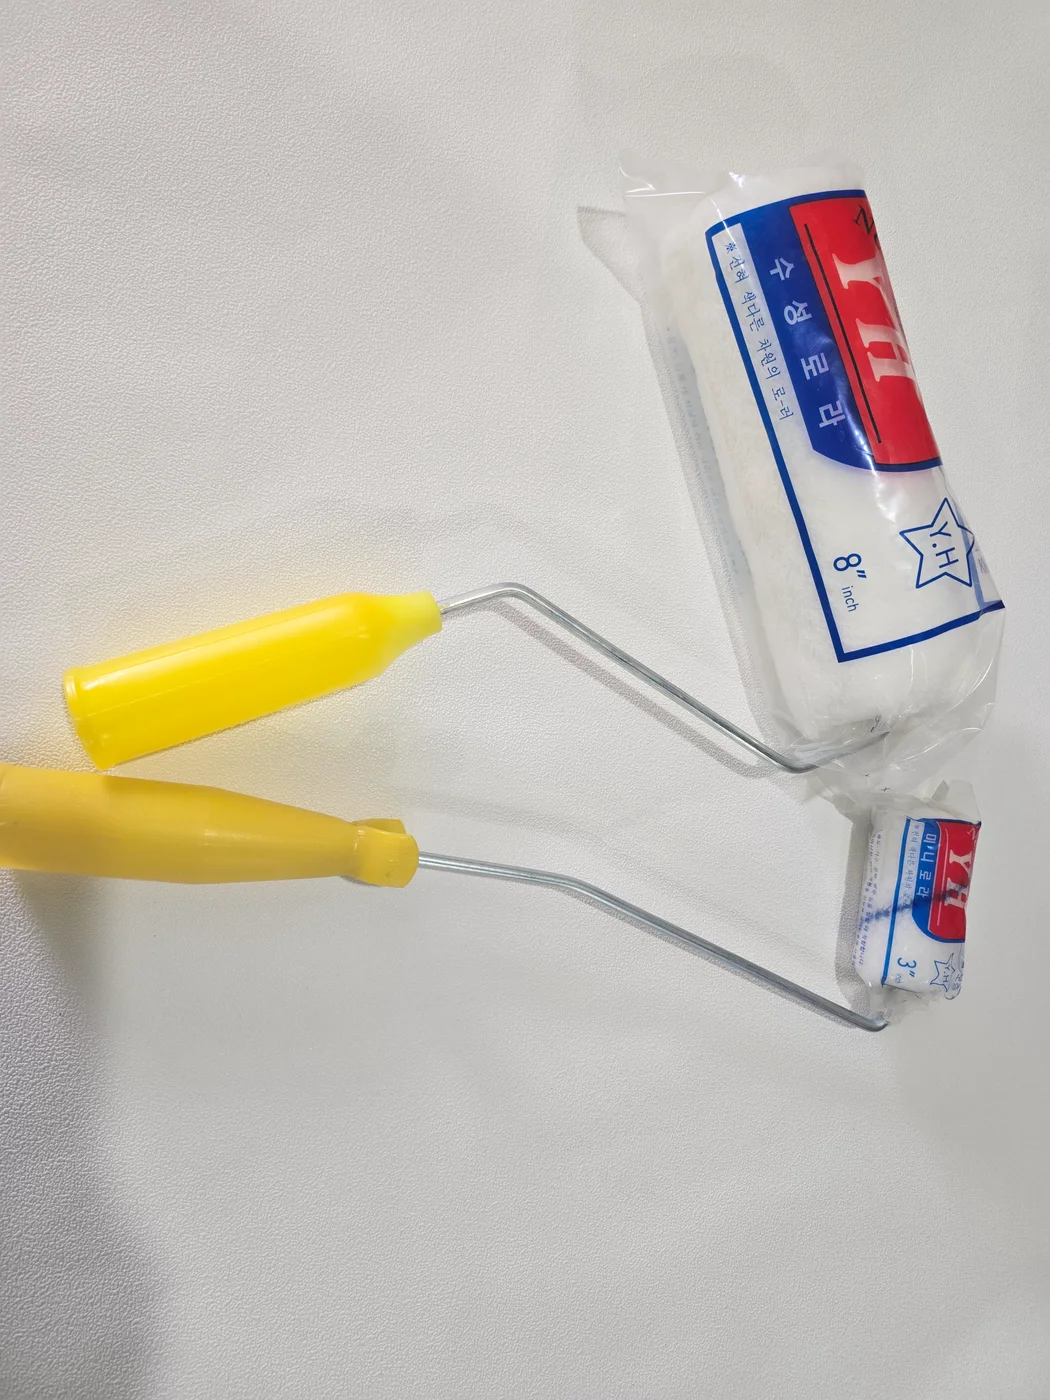
Glue Paste Rollers
Apply wallpaper paste evenly over the wall. Use the large roller for broad areas and the small roller near edges and corners. Large roller $10, small roller $5 — $15 for both.
Large $10 + Small $5AUD
Large · $10
Small · $5
Edge & joint touch-ups
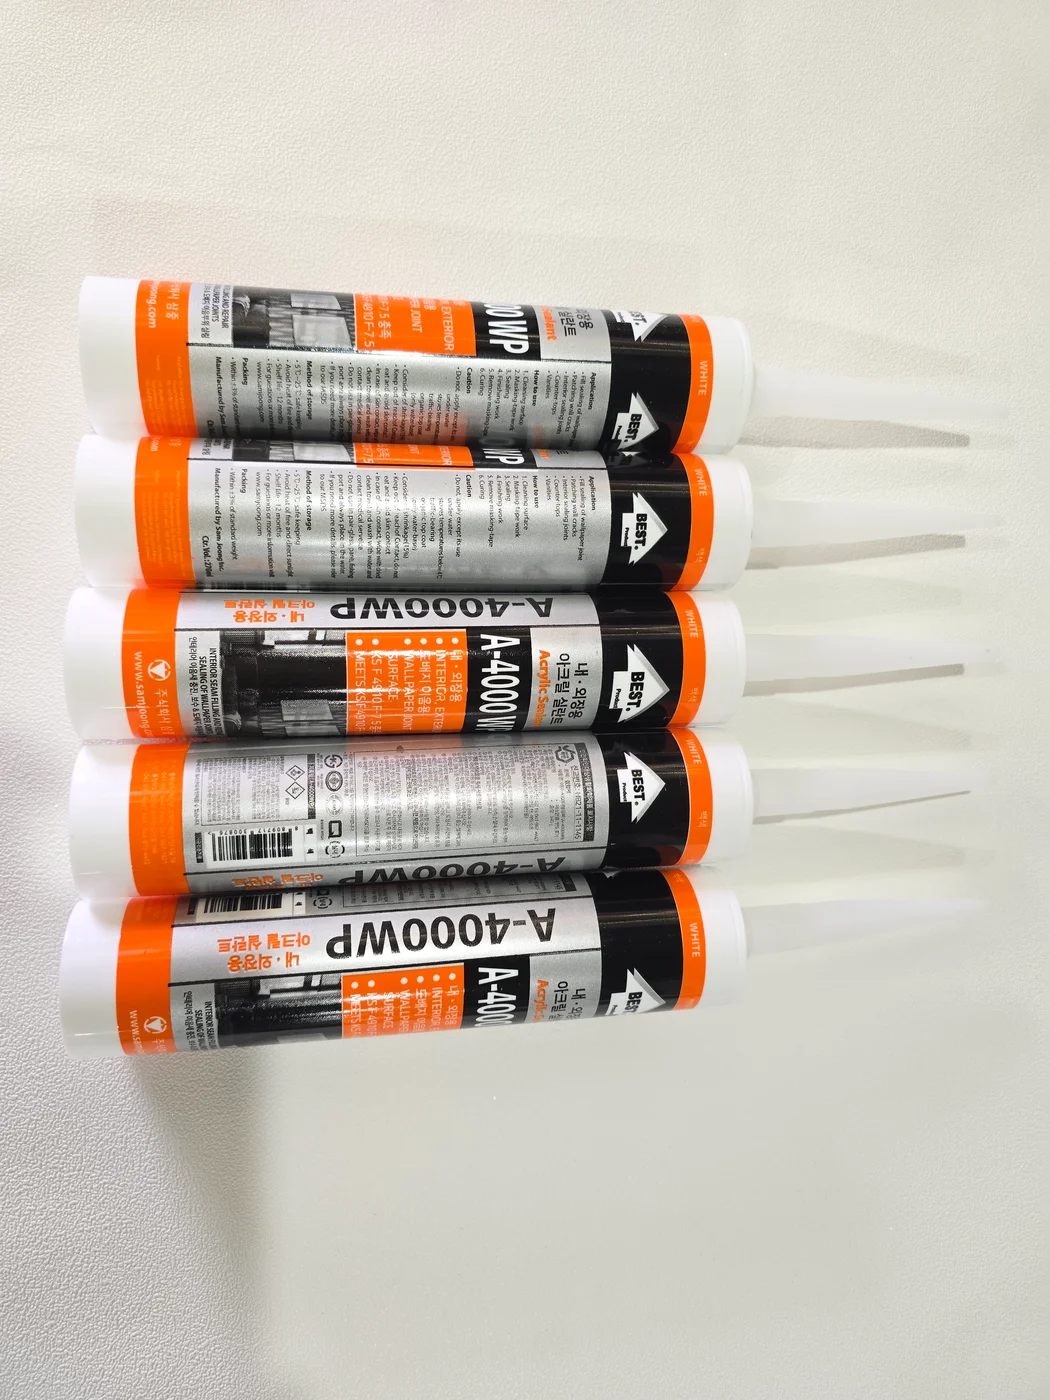
Wallpaper Silicone (Acrylic Sealant)
Price per cartridge. Acrylic sealant for compatible wallpaper joint and lifting-edge touch-ups, or localised areas needing extra adhesion. Check suitability for the wallpaper and wall first. Repair uneven walls before hanging; this is not a substitute for surface preparation or full-wall wallpaper paste.
$15AUD
Quantity
Neat wallpaper seams
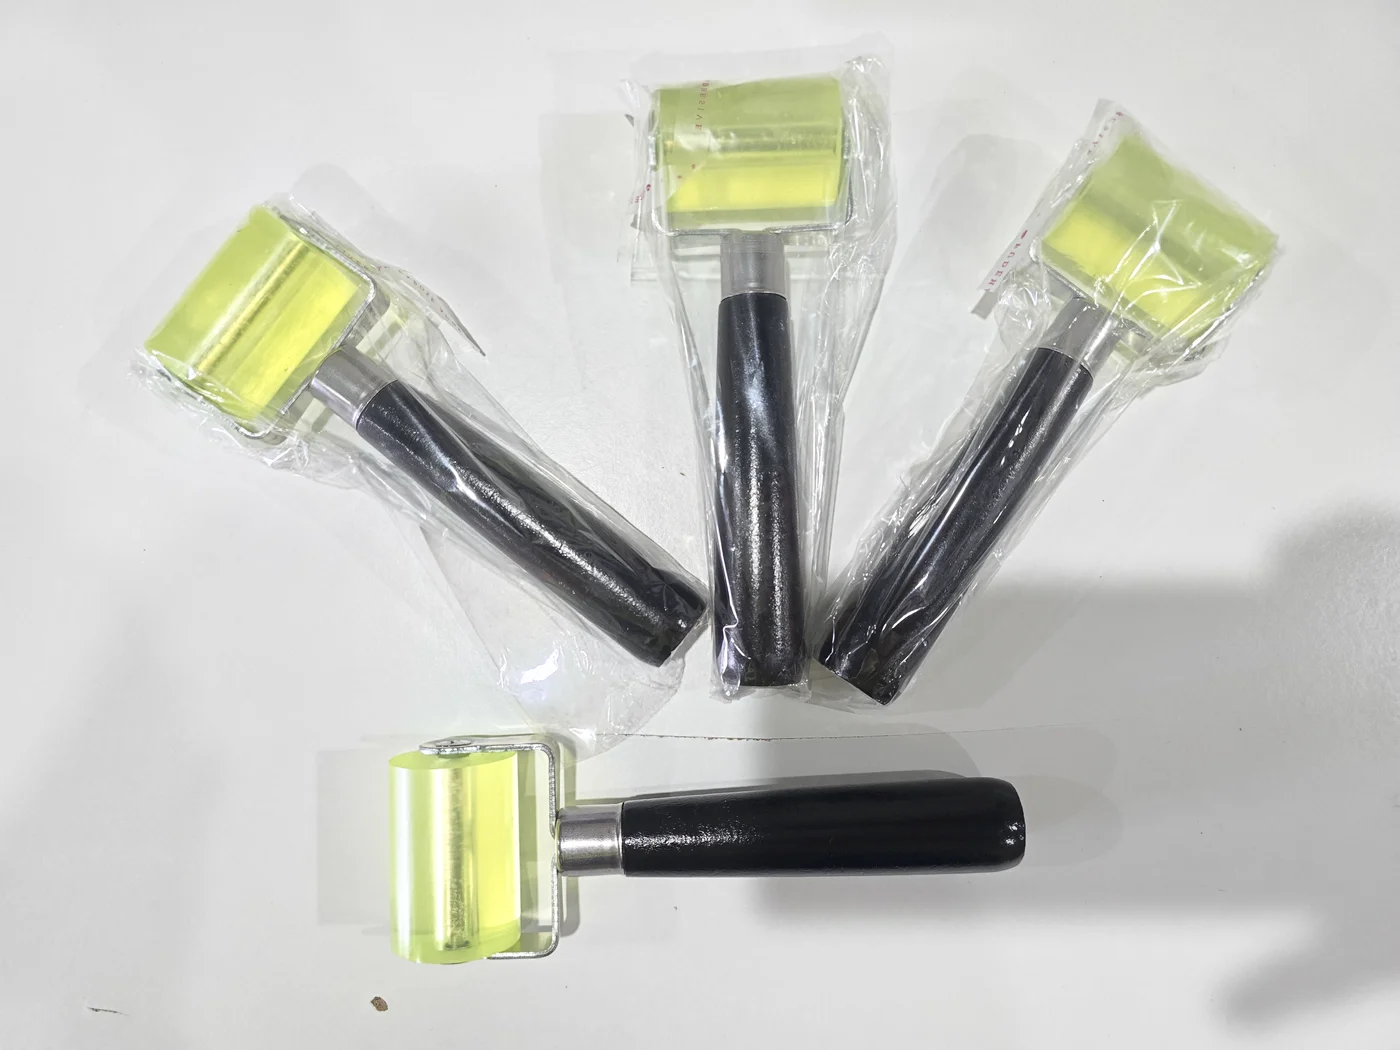
Joint Stick Roller
Price per roller. Gently presses wallpaper joints into the adhesive to help keep adjacent edges seated and reduce lifting. Use light pressure; avoid crushing embossed or delicate wallpaper textures.
$15AUD
Quantity
Get the Right Tools & Expert Advice
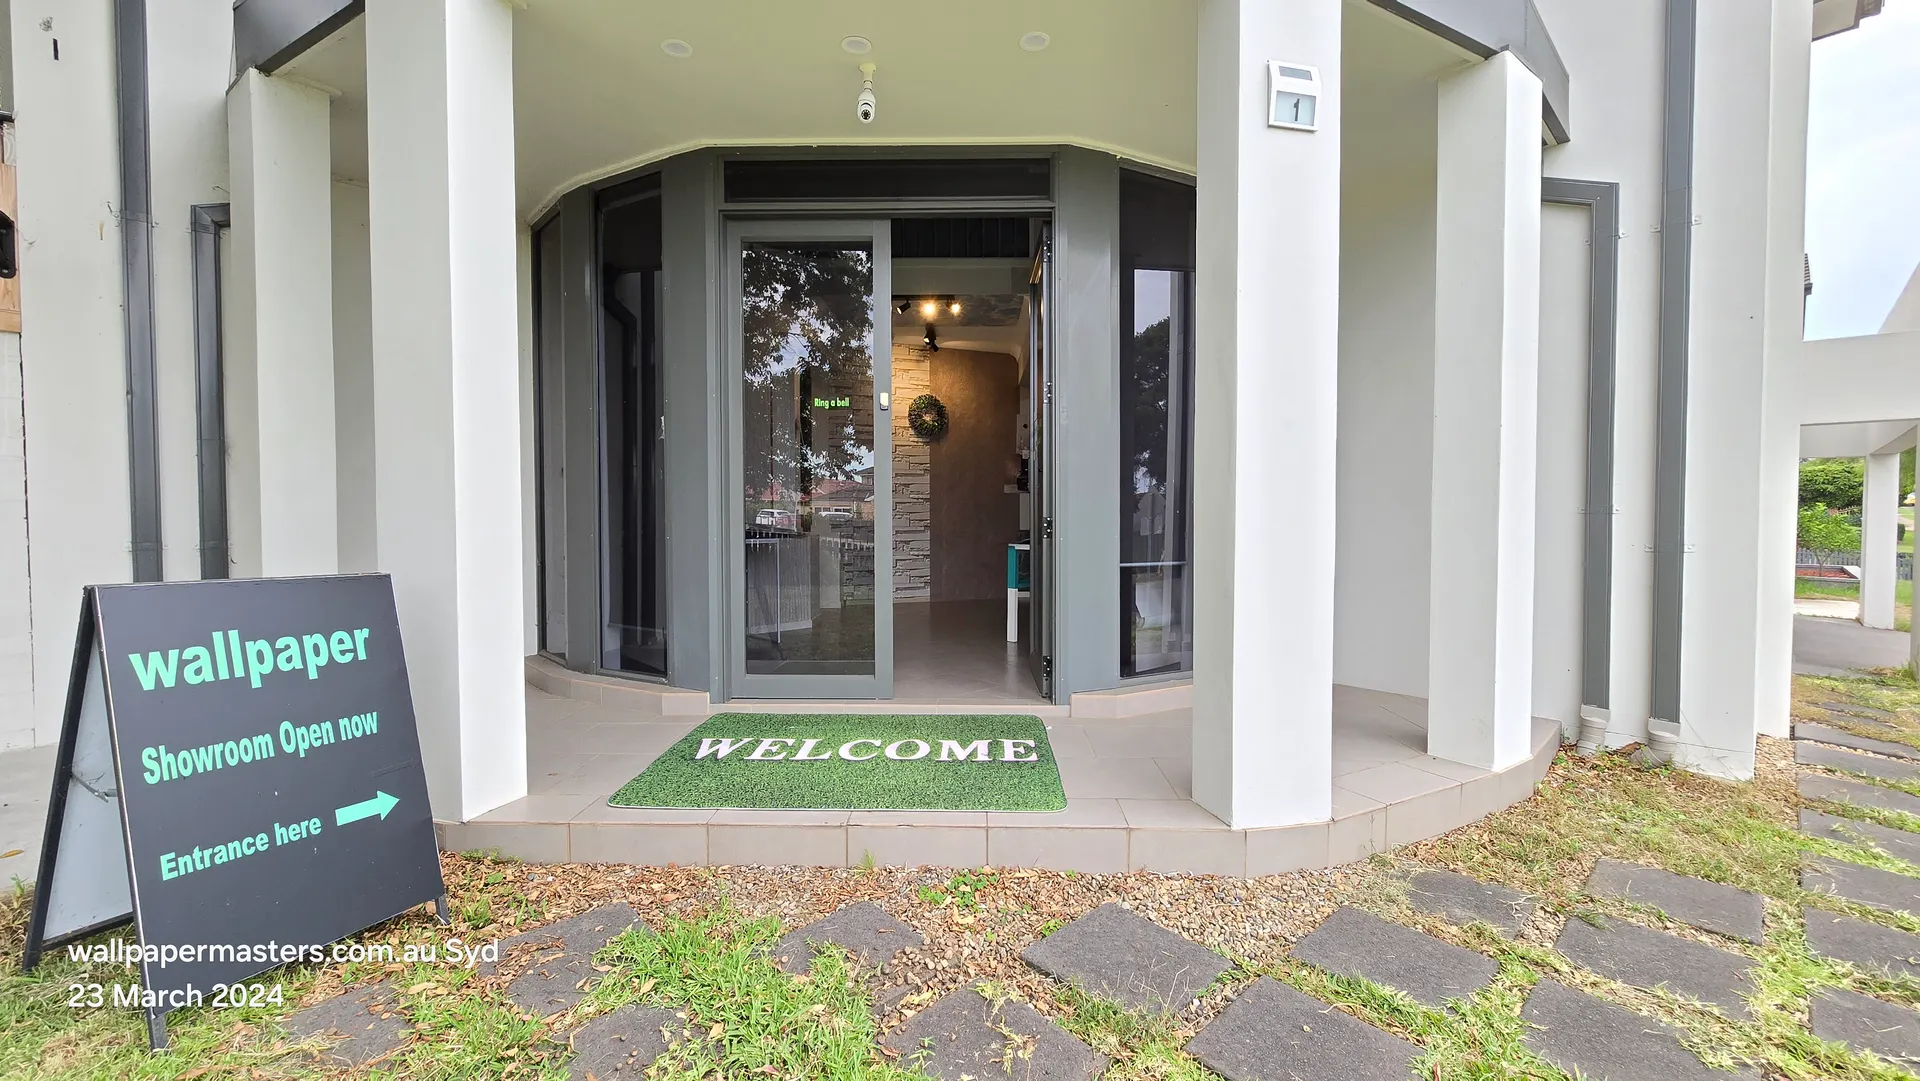
Visit our Kellyville Ridge showroom for competitively priced tools and a personal demonstration. Open 7 days.
Choose the Right Tools for a Clean, Lasting Finish
A successful wallpaper installation starts with sound wall preparation, compatible materials and the
right tool for each stage of the job.
Before you begin, check the wallpaper manufacturer's instructions and match the adhesive and primer to
the wallcovering and wall surface. Our Kellyville Ridge showroom stocks practical DIY
tools and supplies, and we can demonstrate how to use them safely and effectively.
Tools, supplies and practical demonstrations at our Kellyville Ridge showroom.
Build a Practical Wallpapering Toolkit
A basic kit should cover preparation, pasting, smoothing, trimming and seam finishing. Lay out each tool
before mixing the paste so you can work steadily once the first length is on the wall.
1. Premium Wallpaper Paste for a Secure, Long-Lasting Bond
Use an adhesive specified for your wallpaper type, such as paper, non-woven or vinyl. Mix it to the stated
ratio and allow the recommended resting time; the wrong paste or consistency can lead to poor adhesion.
2. Installation Brush for a Smooth Finish
Use a wallpapering brush to smooth each length from the centre towards the edges. Apply light, even pressure
to remove trapped air without stretching, polishing or marking the wallpaper surface.
3. Paste Roller for Even Coverage
A clean roller spreads adhesive quickly and consistently. Cover the full width without dry spots, whether
the product uses the paste-the-wall or paste-the-paper method.
4 & 5. Cutting Guide and Sharp Cutter for Clean Trimming
Hold a cutting guide firmly at ceilings, skirting boards and corners, then trim with a sharp blade. Replace
dull blades promptly: they can drag, tear or fray wet wallpaper.
6. Joint Roller for Secure Seams
Gently roll the seam after aligning adjacent lengths. Avoid excessive pressure, and first confirm that a
seam roller is suitable for the wallpaper's surface or texture.
Preparation and Repair Products
Correct preparation helps wallpaper adhere evenly, while a compatible repair adhesive can address small
lifted edges later.
7. Wallpaper Primer for a Consistent Surface
Repair, clean and dry the wall before applying a compatible wallpaper primer or wall size. This creates a
more consistent surface and can make future removal easier. Follow the primer and wallpaper manufacturers'
compatibility and drying instructions.
8. Seam Repair Adhesive for Small Touch-Ups
Use a wallpaper-specific seam or border adhesive for minor lifting edges and loose joins. Apply a small
amount, press the area carefully and wipe away excess immediately according to the product directions.
See the Tools Used at Our Kellyville Ridge Showroom
Visit the showroom to compare tools and ask questions about your wallpaper, wall condition and installation
method. We can demonstrate basic pasting, smoothing and trimming techniques before you start.
Before You Start
Bring the wallpaper label or product details when you visit so we can help check the recommended paste,
preparation and tools. For complex walls, large repeats or specialist wallcoverings, ask whether
professional wallpaper installation would be the safer option.